Showing posts with label Jewelry. Show all posts

Sunday, July 28, 2013

More New Jewelry for my Zibbet Store!

Hey Everyone!  Thanks for stopping by!  I hope you all had a wonderful Sunday!  Was definitely a lazy Sunday in my house!  But I did upload and edit more photos of the jewelry I have been making.  OMGosh I am having a blast making these bracelets!  LOL!   I am thinking within the next few days I will open my store.  Yayyyy!  So here's a few more...


I seem to favor the aquas and teals, huh?  LOL!!  The 4th one is for a custom order but the rest will be listed.  I just love BLING!  :)  

Thanks for visiting!!!  Have a wonderful week! 

New Jewelry soon to be listed in my Zibbet Store!

Just wanted to share some new bracelets that will be listed in my Zibbet Store very soon!  I am so excited!!   I have a few more that I haven't photographed yet, so stay tuned!  Thank you so much for visiting!  Have a wonderful weekend!


Thursday, July 11, 2013

Design Team Project for Ephemera's Vintage Garden-Number 2

Hi Everyone!  I hope you are having an amazing day wherever you are!  The sun is finally shining and it's gorgeous out.  Today I have my second project for Ephemera's Vintage Garden.  This was so incredibly fun to make and surprisingly, didn't take me that long.  I am using Coral Blues.  The set is called Scrapbook and Journal Card Set.   If you click here, you can check out the designs.  It is an add on to the Coral Blues Journal Kit.  As you can see, you can use this set for more than just paper crafts!

I used Tim Holtz Fragments and adhered the design paper to one side with Judikins Diamond Glaze.  You could use Glossy Accents as well, I just didn't have any in front of me at the time.
For this one below, I adhered the punched butterfly to the back first, and then I adhered it to the polka dot paper.
Once they were completely dried, I cut them out using scissors, and then I sanded the edges a little to clean it up.
Then I used Tim Holtz Distress Ink in Walnut Stain to ink around the edges of the paper to eliminate the white core showing.  Then I adhered more designer paper and Tim Holtz word stickers to each charm.  Again, I went around each one with Walnut Stain.  Once I was done with that, I put a layer of Diamond Glaze on top and let them dry for a few hours.
Here is the completed bracelet.

And here's the other side with the words...
I hope you enjoyed my project today and I hope that it inspired you to think outside the box!  Thank you so much for stopping by!  Have an amazing day!
Here is the video!

Thursday, March 15, 2012

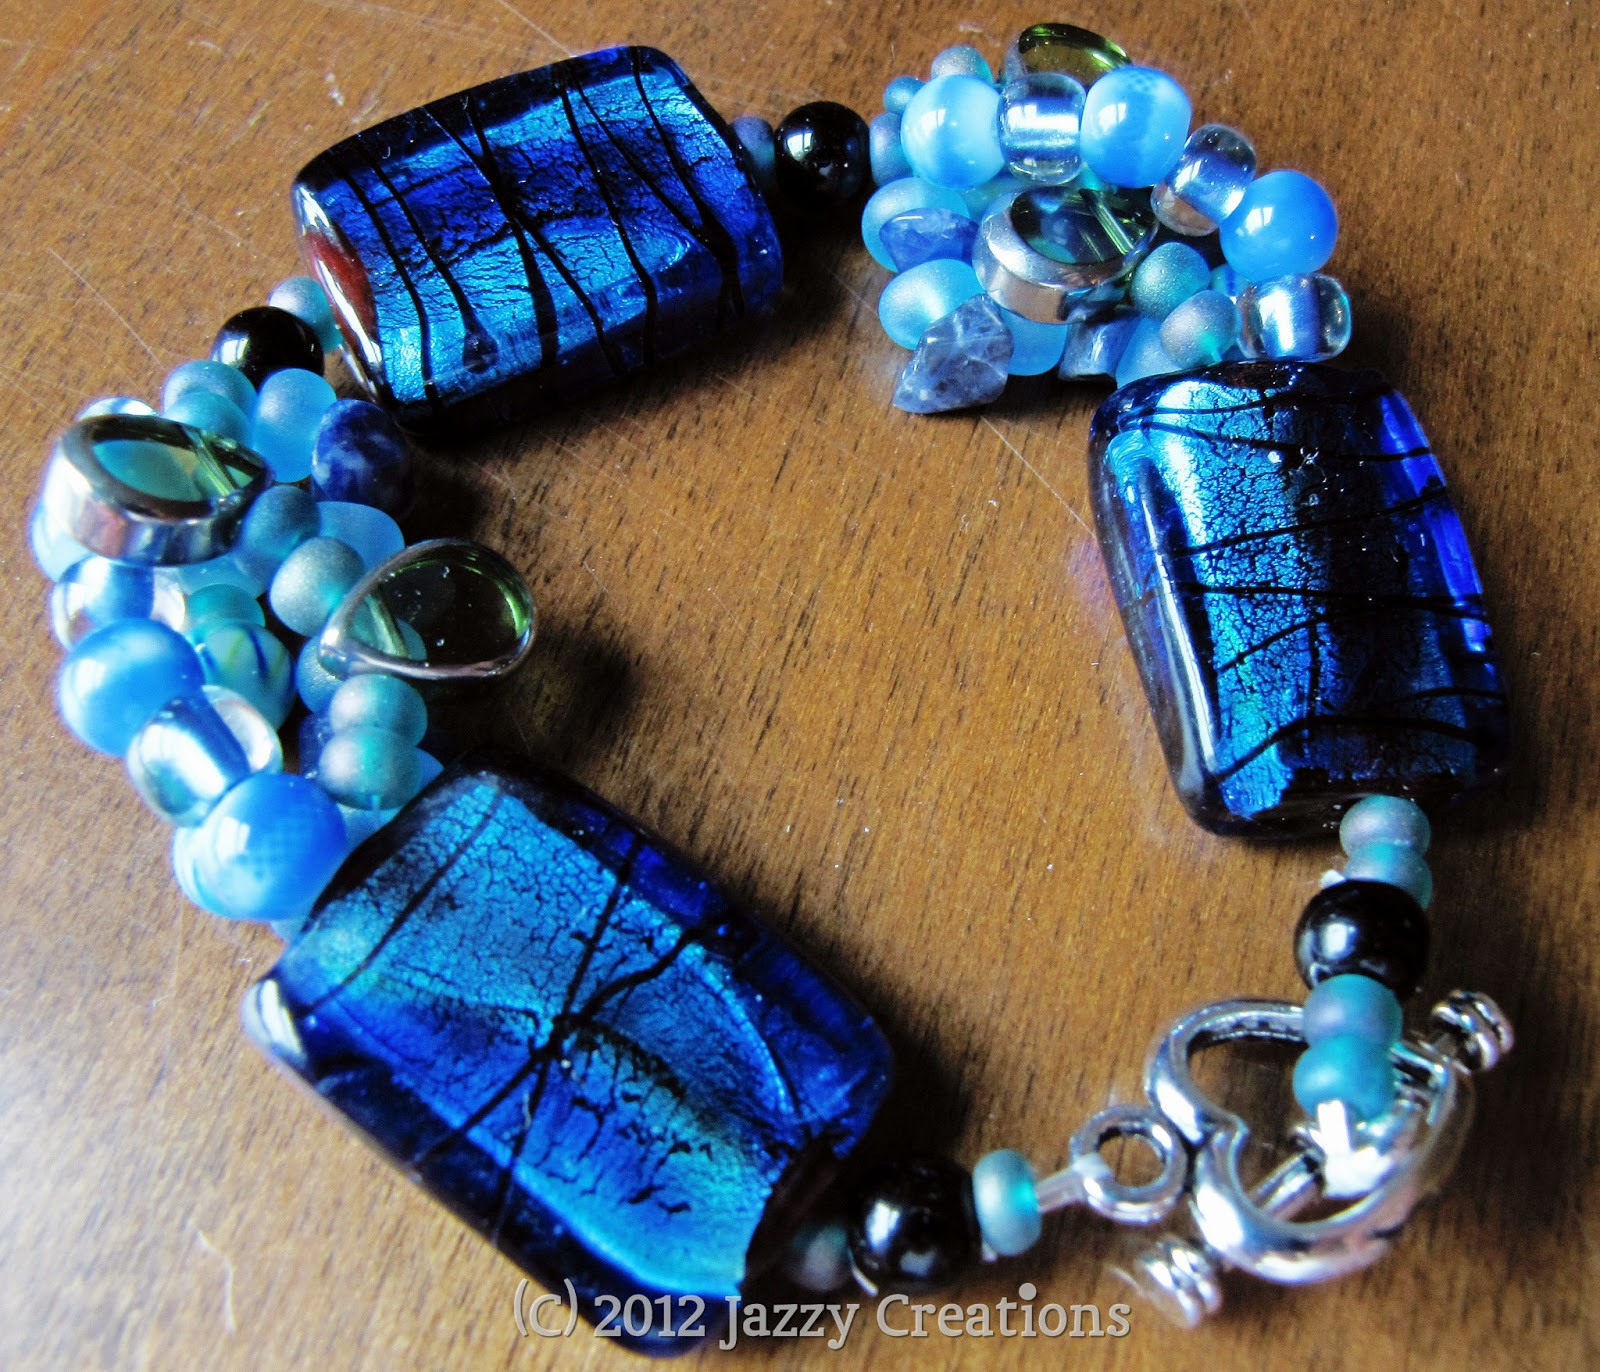
Blue and Teal Cluster Bracelet

Happy Friday Eve!   :)   Yep, I made another bracelet yesterday morning!  This one took me less than an hour!  I am addicted to making these cluster bracelets!  They are soooo easy to make.  I used Wildfire Beading wire, glass beads, seed beads, frosted beads, and clear glass beads with blue centers.
 
Thanks for stopping by for a visit!!  Hugs!!

Tuesday, March 13, 2012

Cluster Bracelet with Toggle Clasp

Happy Tuesday!!  Thanks for stopping by for a visit!  Is Spring in the air in New England??  Can it be??  Yesterday while running errands, I saw people on motorcycles!!  It was a beautiful, sunny 66 degrees.  I'm not going to hold my breath though, because it isn't unusual to get snow into April or even May!  Yes, you read right, MAY!!  But it's absolutely beautiful out and for the next several days we will have 50-60 degree temps!  :) 
 This is a bracelet I made this morning.  It's called a Cluster Bracelet and I learned this technique from Auntie's Beads you tube video.  She provides an excellent explanation and is very easy to follow.  You will have to try this!!  :) 


Thanks for stopping by, if you have any questions please let me know!  Hugs!!

Saturday, March 10, 2012

Finished Handmade Shabby Chic Beaded Bracelet

Here is my completed Shabby Chic Bracelet!!  I love it!!  I love bracelets that are full and chunky!  :)  It has a Lobster Claw Clasp shown below.  
I have added various silver charms using silver eyepins. 
Above the silver flower charm is a glass faceted bead, a purple glass seed bead, a spacer bead, and another purple glass seed bead. 
 In the pic above, you see pink pearls, white pearls, blue frosted glass beads, clear beads with a blue center, on the left side of the picture.
 I love those brown beads!!  I will try to describe them.  I found them at AC Moore.  They are a round glass bead that is clear. The center section is faceted and is blue.  The top and bottom of the bead is not faceted and is a bronze color.  They are both on headpins with clear seed beads on either side.
 Those brown beads are just gorgeous in person!

Thank you so much for visiting me; I really appreciate each and every one of you!!  If you have any questions, please let me a comment and I will answer the best I can.  Have a wonderful day!!  Hug your loved ones and count your blessings; you have many!  ;-)  HUGS!!!

Thursday, March 8, 2012

Shabby Chic Beaded Bracelet

Hey everyone!  Cloudy, gloomy winter day here today.  What is up with our New England winter this year?  60 degrees today and raining, 32 tomorrow and snow showers!!??  Bizarre!!  One or the other people....one or the other!!  LOL!!


So I started working on a beaded bracelet last night, which is going to be VERY chunky and full!  I love chunky bracelets and look at it so far...


I started with a silver chain and just started adding charms on every other link (approximately).  On most links, I added them two at a time to get this fullness.  


I used various glass beads and baubles, silver head pins and silver eye pins, along with seed beads, and pale pink pearls.  I should be done with this by tomorrow and will share the completed bracelet with you.  :)  Hope you are having a wonderful day!  Thanks for stopping by for a visit...