
Saturday, August 31, 2013
Video for Ephemera's Vintage Garden Journal!
Hi Everyone! Thanks for visiting me today! I hope you are all having a wonderful weekend so far! I have uploaded my video for my recent journal! I hope you can check it out!! Quick post today as I am working on more projects! Happy crafting!
Tuesday, August 20, 2013
Design Team Project for Ephemera's Vintage Garden~Tea and Tweets!
Happy Tuesday! Thank you all for visiting me today! It's been such a beautiful summer, I've been spending a lot of time outdoors! I hope you are enjoying your summer weather, or winter weather if you're in another part of the world!
Today I have an August Design Team project for Ephemera's Vintage Garden! I am using the new digital kit called Tea and Tweets, and let me tell you how colorful and wonderful this kit is!! It's amazing!! I let the paper do all the work for me in this project. I printed the kit at Staples on matte photo paper, card stock thickness. I used the ENTIRE kit; all the pages, all the ephemera, every last bit! You get a lot in this kit to work with, so if you haven't checked it out, run over and take a peek at it. You won't be disappointed!
I made an envelope journal and bound it with my Cinch. The covers are 8 3/8" x 6 5/8". I didn't add any embellishments to the front cover, leaving the paper to speak for itself. I used a red coil in the binding because it matched beautifully with the papers. I also tied several pieces of hand-dyed muslin onto the coil.
 The papers print on 8.5" x 11" sheets of paper. You can either fold the paper in half and make a top-loading pocket out of the page, or you can do as I did and cut the paper in half. I used the design papers on adjacent pages so the cute stitching design around the perimeter would match up from page to page. On the front inside cover, I added one half of the design paper, followed by a belly band which holds one of the envelopes you cut out and assemble. On the belly band is a ticket that comes in the kit. It already has the jagged edges in the design! On the second page, I added a belly band using torn edges (cardstock) and then a piece of the design paper.
 Each page is made from a large envelope (approximately 6"x9", which I then cut down to to go with the papers) which makes for a perfect pocket. In each pocket, I just used vanilla colored cardstock and tore the right edge. I then heavily distressed them with Tim Holtz Vintage Photo Distress Ink.


In the photo above, you see the cardstock pulled out from the envelope pocket and you can see more torn cardstock with an ephemera piece from the kit attached to it. This piece is then attached to the larger piece of cardstock just along the bottom and right sides to form a pocket on the page.
In the photo below, I show what I added to the back of this cardstock pull out; another envelope from the kit, a little file folder piece inside the envelope, and they are both tucked into a pocket. The piece you see on the pocket is from a free printout called Spring Tea.
 On these two pages, you see the amazing art and vibrant colors of this Tea and Tweets kit. The exact colors will differ from printer to printer, and paper to paper, so it may look different to you here than on Debbie's site.
 Here is the insert for this page. I have a belly band and a post card from the Spring Tea free printable set.

 And here is the flip side....
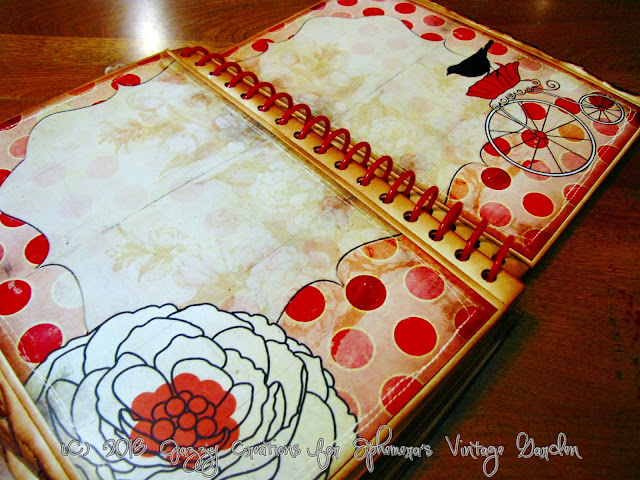
 Love the doilies in the background of these two pages....

 LOVE the journaling lines already in the design, and the "washi tape" across the top of the pages (photo above). SO much detail in this printable kit!!
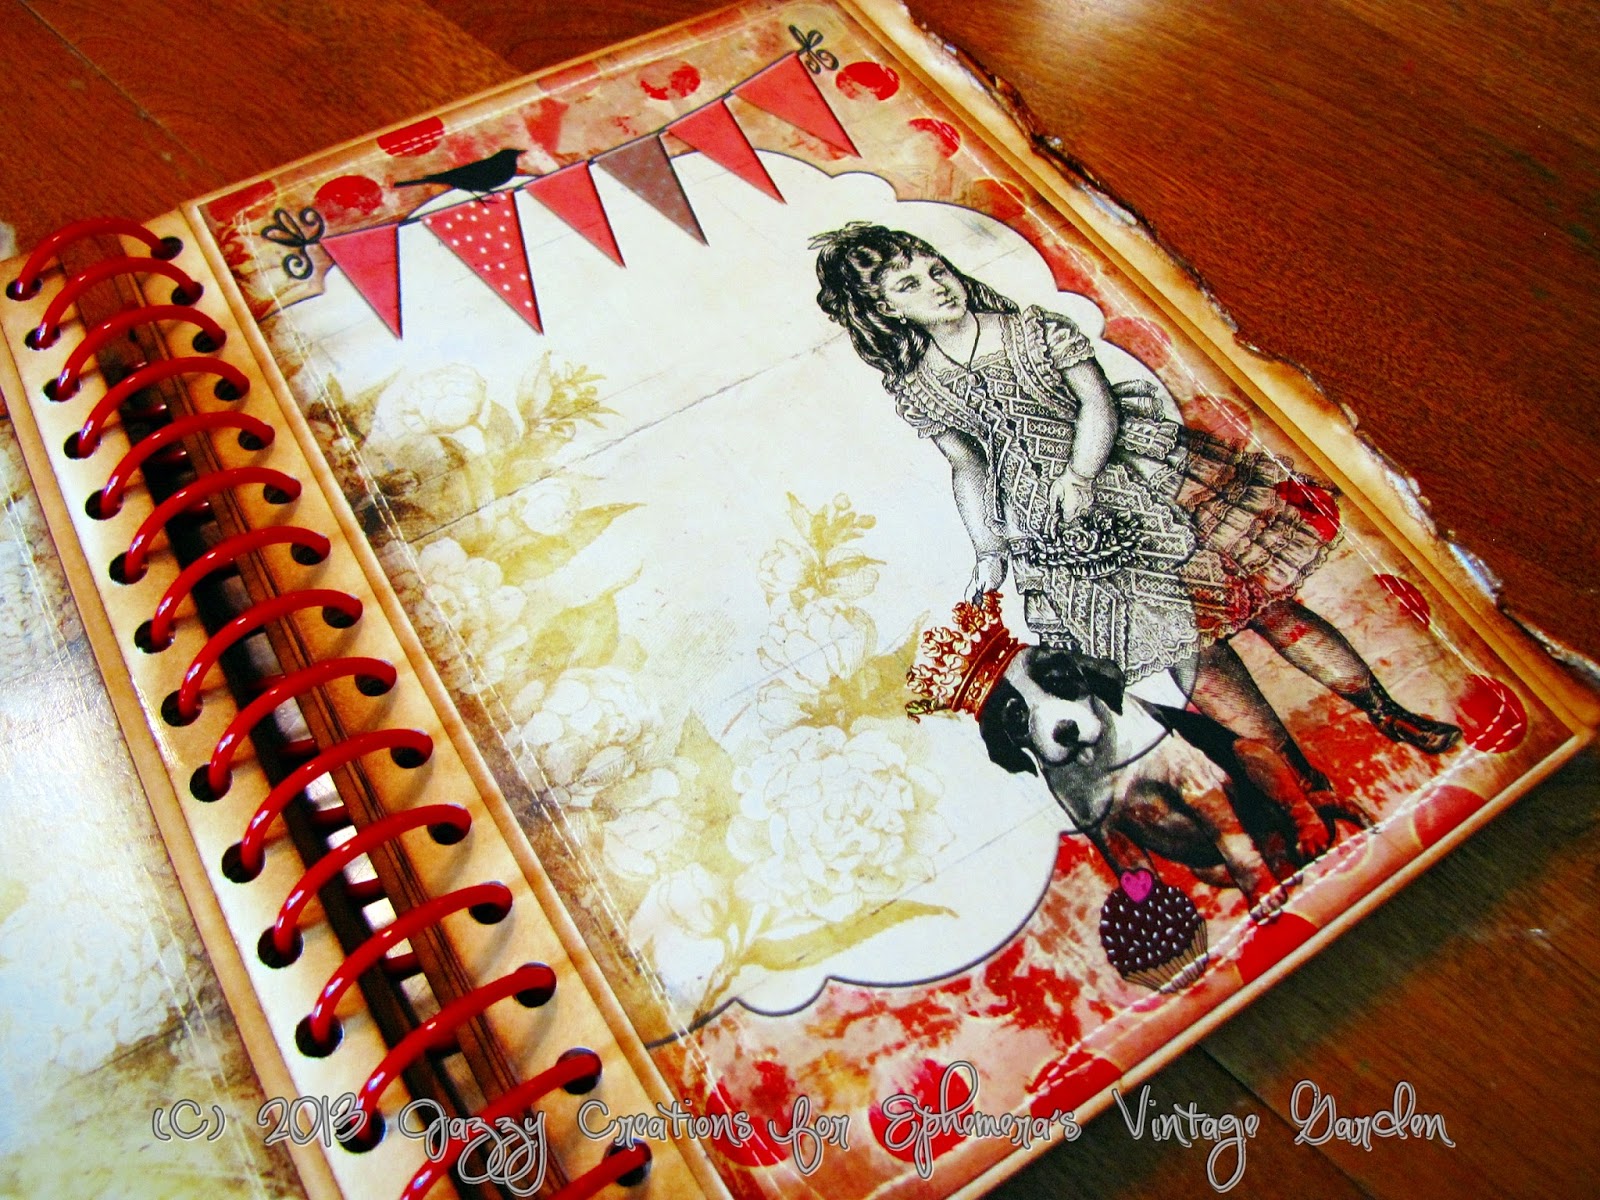
Isn't this a sweet little girl with her dog? You could attached letters in the pennants to make a title for this page as well.
 Isn't this paper gorgeous?!! I just loved working with this kit! You don't have to do anything on these pages, except to add your photos!
 This is the insert for the page above. I love the lines on it so it makes a wonderful journal spot!
 Here, I added a belly band to the page, so I could tuck in a letter or a picture...

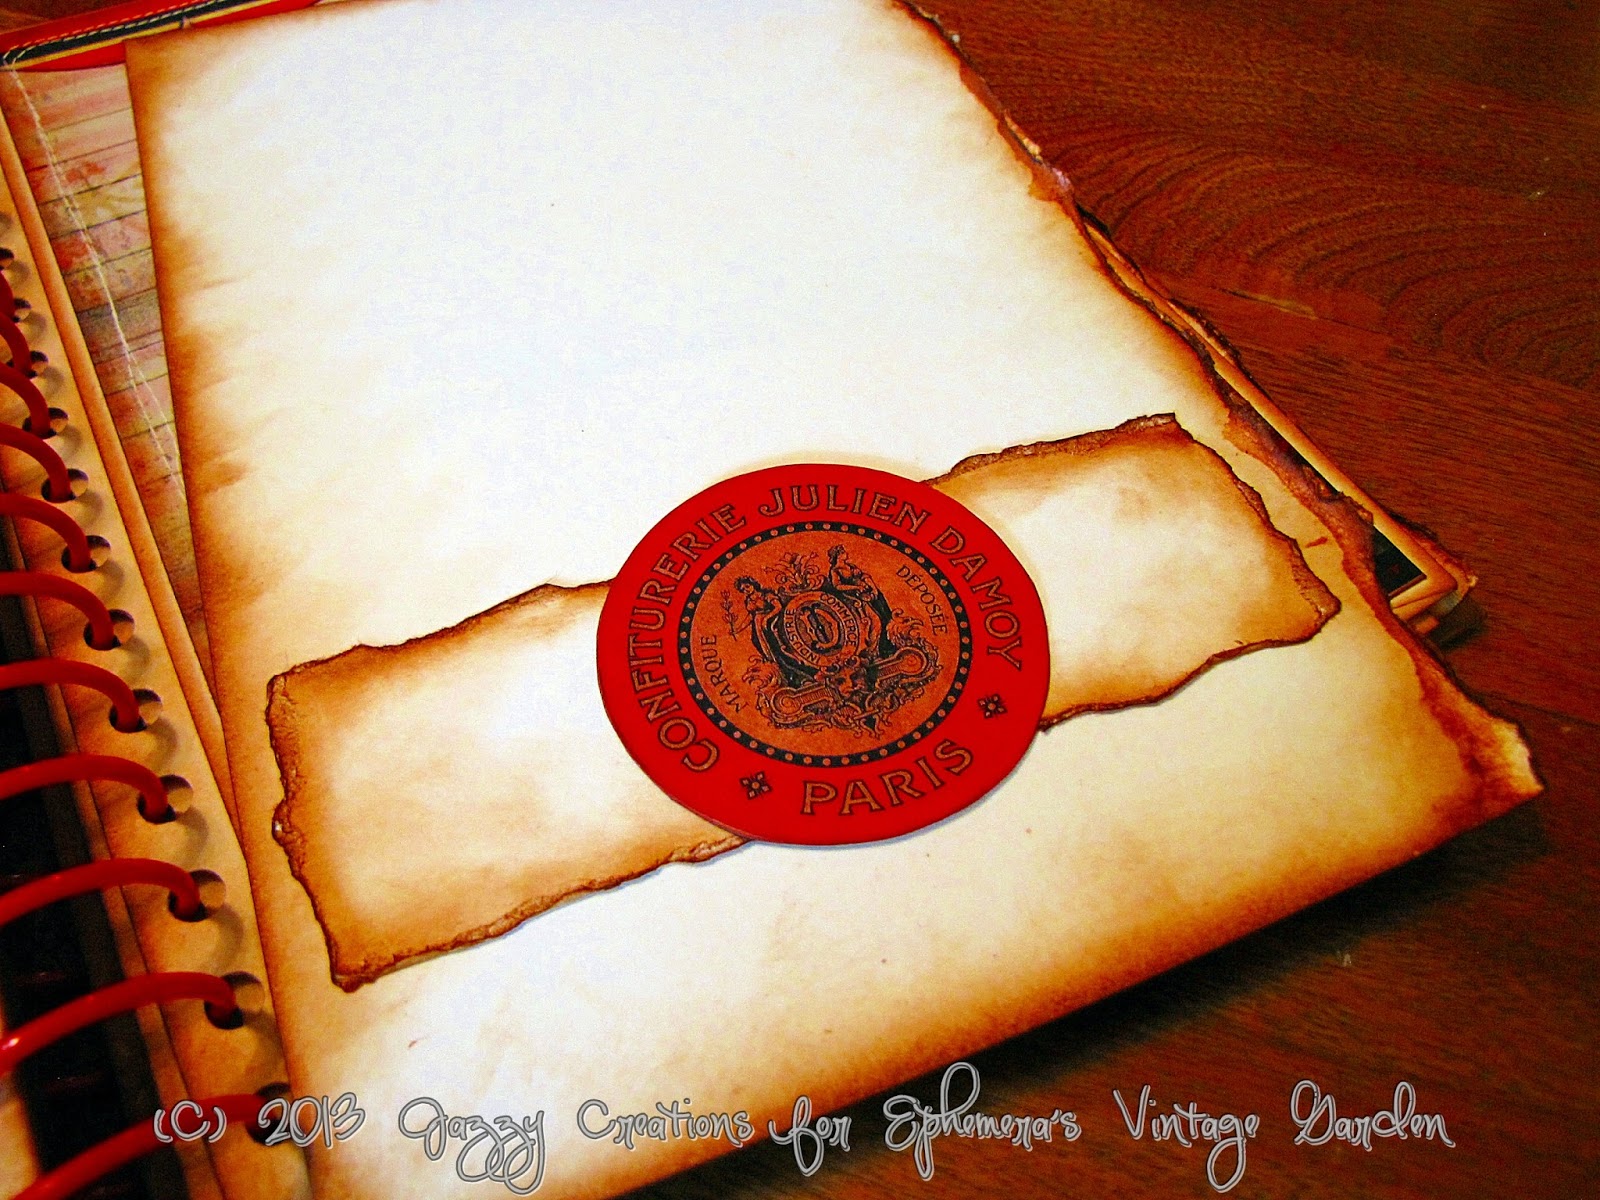
 Here is the back inside cover (photo below). I adhered two envelopes to the inside cover, actually. One envelope's opening is at the top of the page, and the second opening is just below that circle piece. I can then write on the lines about what may be tucked into those pockets.
On the last page, you see I added this cute file foler that comes in the kit. I glued it shut so it forms a top loading pocket on the page. I then added a circle ephemera piece to the center.

I LOVED this kit!! I can't tell you enough how gorgeous these papers are! I hope that you go check out Ephemera's Vintage Garden and look at this Journal Kit along with all the other amazing digital designs she offers! Thank you so much for visiting me today and I hope you have a wonderful day, wherever you may be!!
Today I have an August Design Team project for Ephemera's Vintage Garden! I am using the new digital kit called Tea and Tweets, and let me tell you how colorful and wonderful this kit is!! It's amazing!! I let the paper do all the work for me in this project. I printed the kit at Staples on matte photo paper, card stock thickness. I used the ENTIRE kit; all the pages, all the ephemera, every last bit! You get a lot in this kit to work with, so if you haven't checked it out, run over and take a peek at it. You won't be disappointed!
I made an envelope journal and bound it with my Cinch. The covers are 8 3/8" x 6 5/8". I didn't add any embellishments to the front cover, leaving the paper to speak for itself. I used a red coil in the binding because it matched beautifully with the papers. I also tied several pieces of hand-dyed muslin onto the coil.


In the photo above, you see the cardstock pulled out from the envelope pocket and you can see more torn cardstock with an ephemera piece from the kit attached to it. This piece is then attached to the larger piece of cardstock just along the bottom and right sides to form a pocket on the page.
In the photo below, I show what I added to the back of this cardstock pull out; another envelope from the kit, a little file folder piece inside the envelope, and they are both tucked into a pocket. The piece you see on the pocket is from a free printout called Spring Tea.


Isn't this a sweet little girl with her dog? You could attached letters in the pennants to make a title for this page as well.


On the last page, you see I added this cute file foler that comes in the kit. I glued it shut so it forms a top loading pocket on the page. I then added a circle ephemera piece to the center.

I LOVED this kit!! I can't tell you enough how gorgeous these papers are! I hope that you go check out Ephemera's Vintage Garden and look at this Journal Kit along with all the other amazing digital designs she offers! Thank you so much for visiting me today and I hope you have a wonderful day, wherever you may be!!
VIDEO COMING SOON!!
Subscribe to:
Posts (Atom)